HERE IS LIGHT!HERE IS LIFE!
www.whitesunredmoon.com
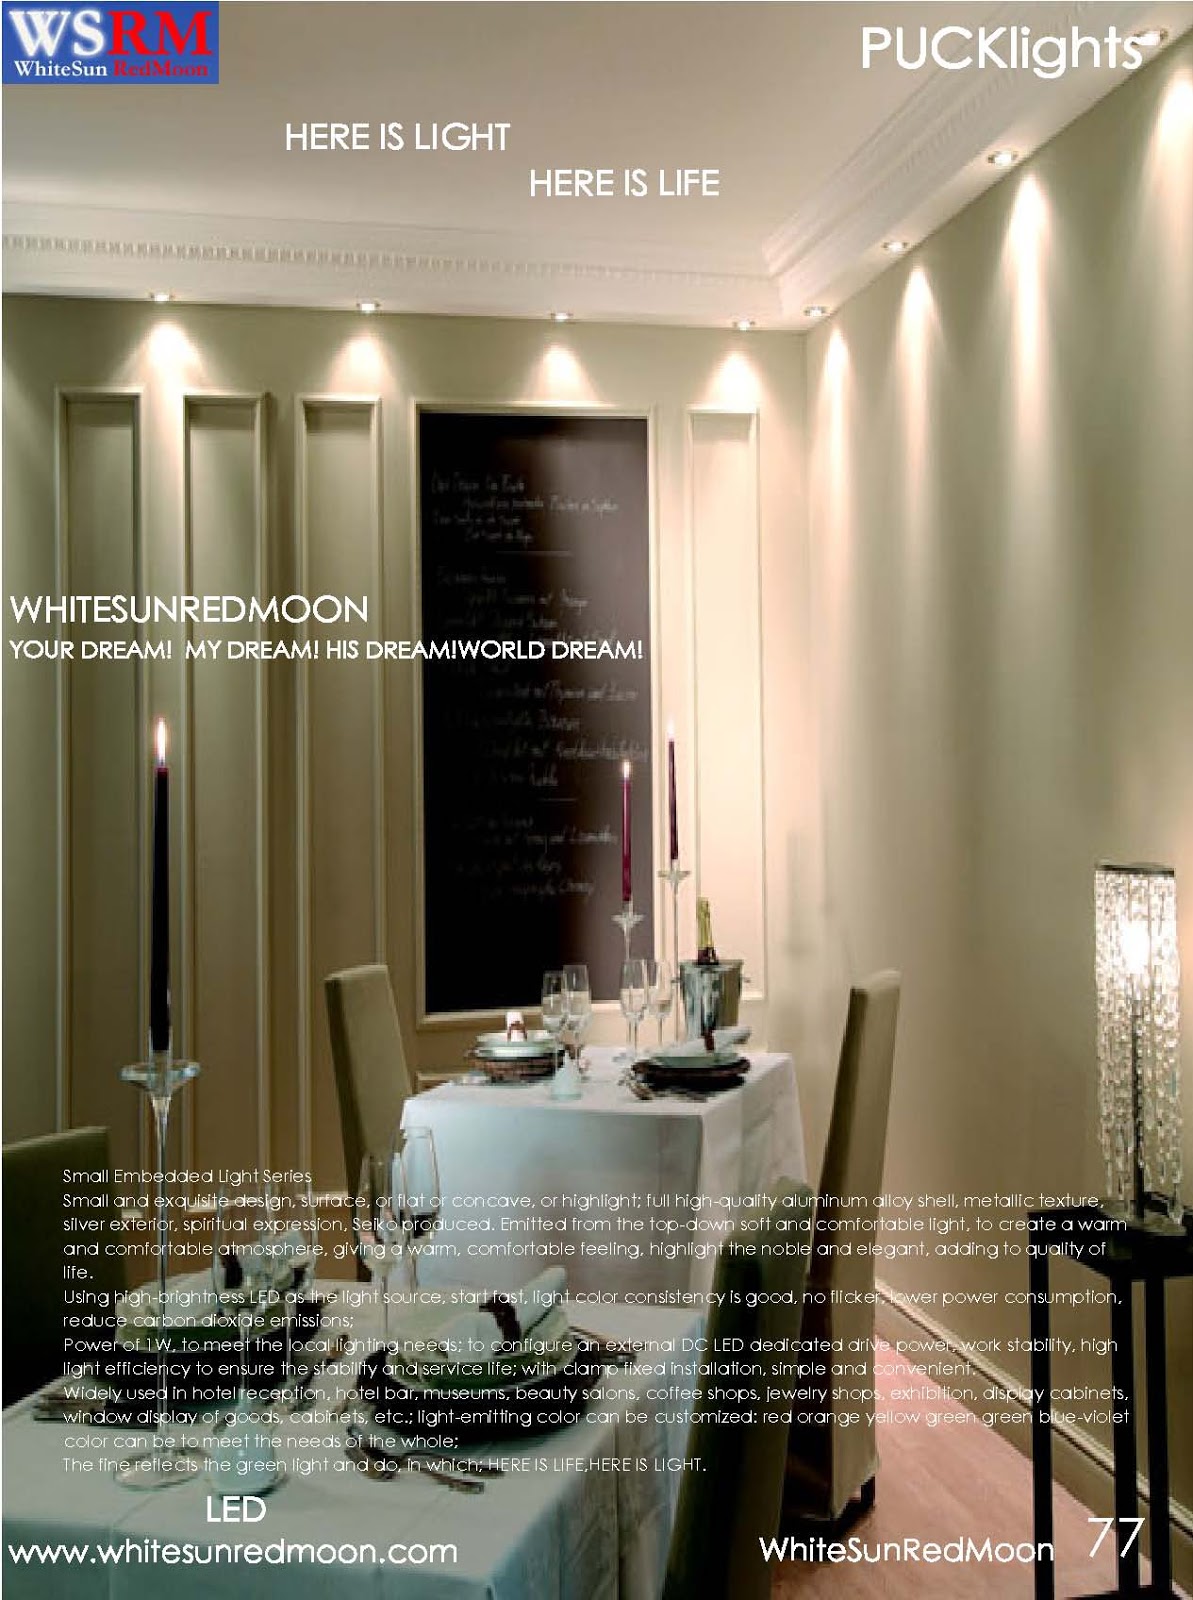
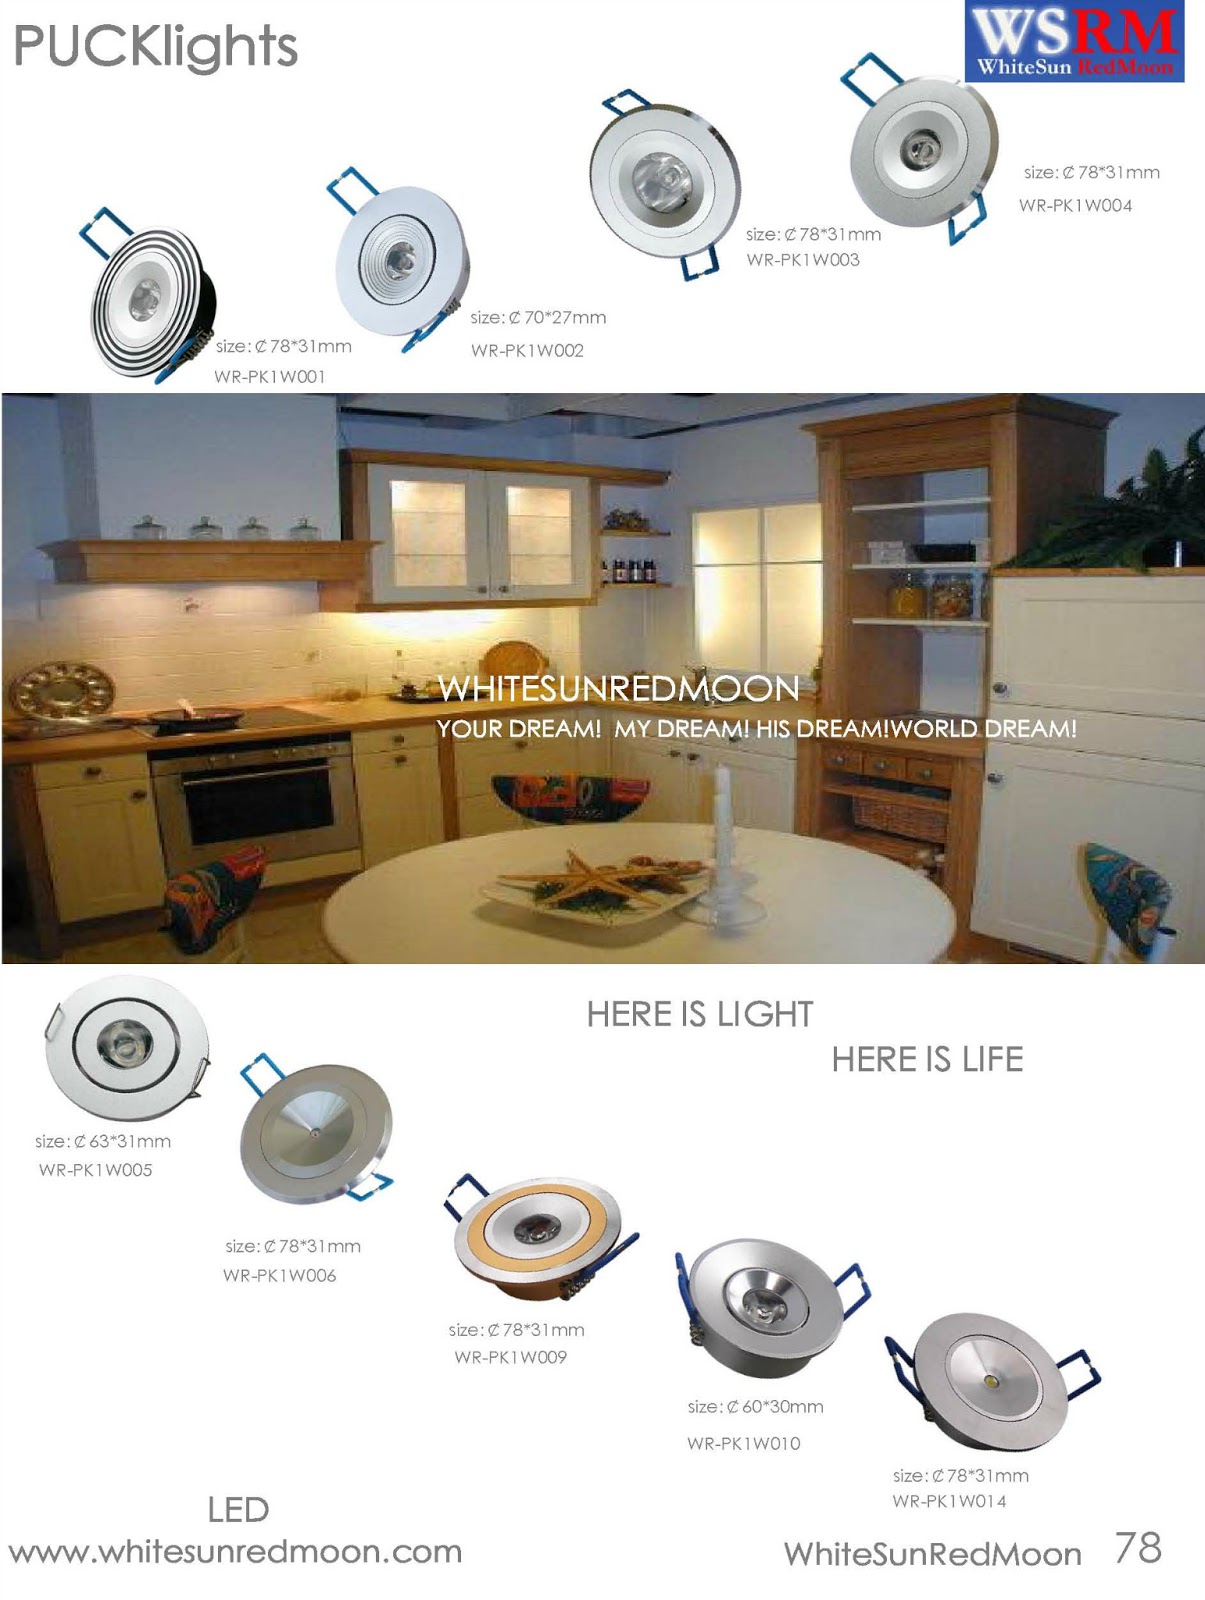
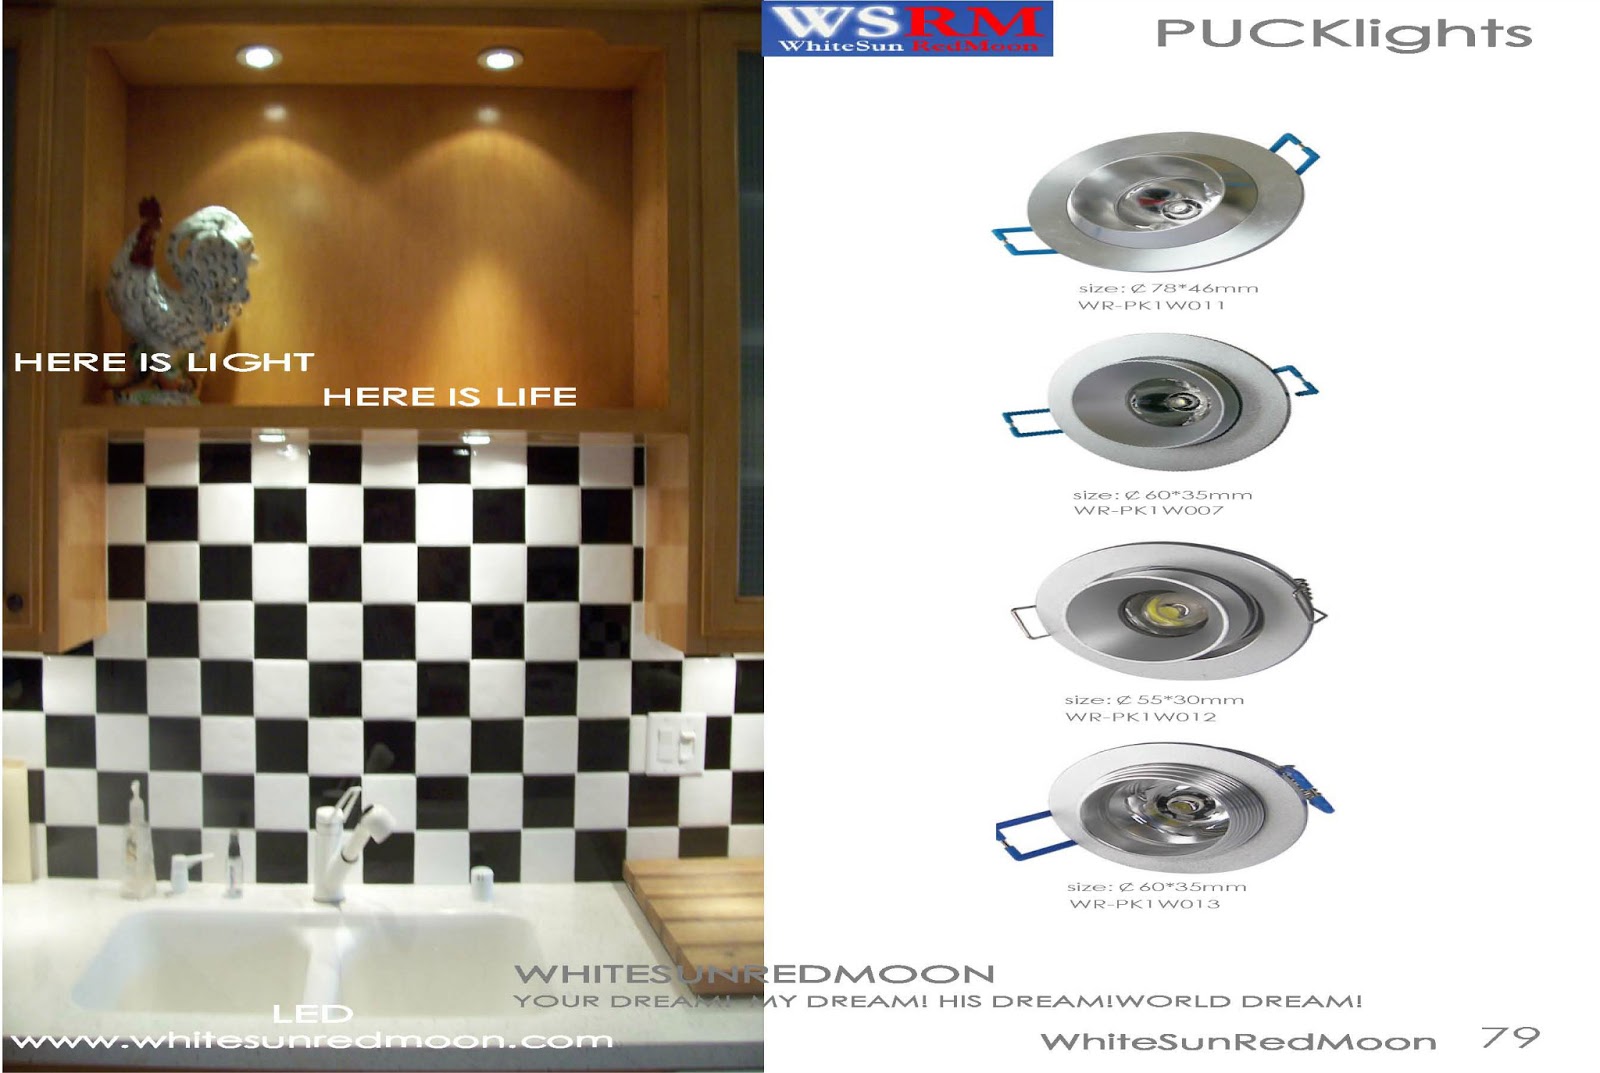
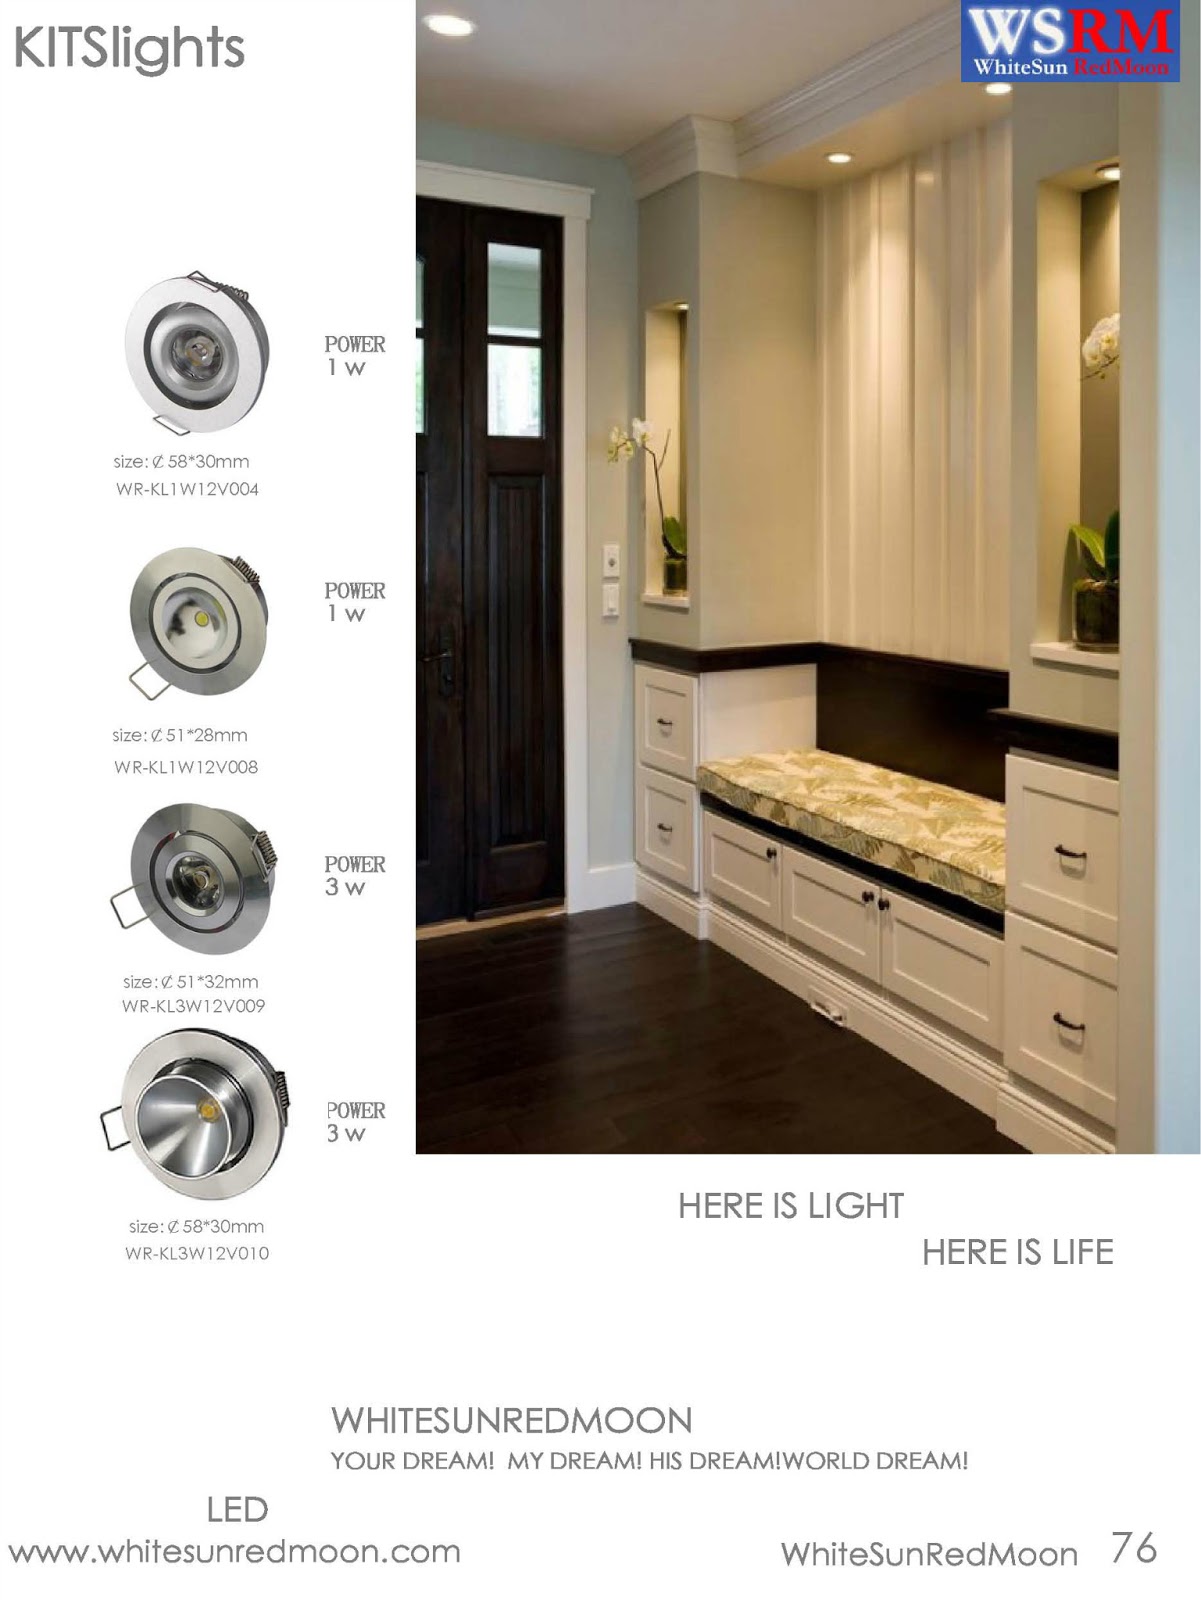
WSRM---LED PUCKlights in your cabinets and Shelves!
Recessed puck lights are a simple, attractive light source for task lighting and accent lighting. If you’re ready to use puck lights to illuminate your cabinets or shelves, just follow these tips to create the perfect lighting scheme!
1. Pick Your Pucks.
Do you prefer plug-in, hard-wire, or battery operated lights? LED, xenon, or fluorescent? Low voltage or line voltage? What color temperature works best with your decor? You can browse our full selection of puck lights here.
2. Decide How Many Puck Lights You’ll Need.
This will depend on how you want to use them. For even under cabinet lighting or bookshelf lighting, use one light for every 6-10 inches of space. For display lighting, position one light above every item you wish to showcase.
3. Determine How To Place Your Lights.
For even lighting, follow the 6-10 inch rule. We recommend you install the lights closer to the front of the cabinets or shelves. This will provide the brightest illumination, especially important for task lighting. For accent lighting, the placement is more arbitrary. What makes your display look best?
4. Test Them Out.
Before you whip out the power tools, test out your placement by taping the puck lights in place. You can even turn them on to see how the final lighting scheme will appear. Make adjustments as you see fit. When you’re happy with what you see, take a pencil and trace each light.
5. Grab The Tools.
Once traced, take down your puck lights. Double-check the dimensions of your tracings with the recommended diameter and depth from the manufacturer. (Usually the depth is about 1/2″ give or take). Then, use a hole saw to drill into the bottom of your cabinets or shelves.
6. Attach.
Permanently fasten the puck lights in their holes with mounting clips or screws.
7. Wire (If Necessary).
If your lights aren’t battery operated, they’ll plug into each other so you can operate them with one plug or light switch. For lights that require a driver or transformer, make sure the one you’re using has an appropriate wattage rating. It should be able to accommodate a wattage equal to or slightly higher than the combined total wattage of your lights. To hid the wires, you can install a valance (a matching 1-2 inch strip attached as a lip at the bottom of your cabinets), or simply staple the wires to the bottom of the cabinet. Just be careful not to damage them.
www.whitesunredmoon.com
http://zgledn.yglm.mobi/
SALES CONTACT
ITALY
Torino
39011redmoon1@myledonline.com
Rome
3906whitesun1@myledonline.com
SPAIN
Barcelona
3493redmoon1@myledonline.com
GERMANY
Berlin
4930whitesun1@myledonline.com
FRANCE
Paris
331redmoon1@myledonline.com
ENGLAND
London
4420whitesun1@myledonline.com
RUSSIA
Moscow
7499redmoon1@myledonline.com
FINLAND
Helsinki
3589whitesun1@myledonline.com
NORWAY
Oslo
47whitesun1@myledonline.com
AUSTRIA
Vienna
431whitesun1@myledonline.com
NETHERLAND
Amsterdam
3120whitesun1@myledonline.com
SWITZERLAND
Zurich
4144whitesun1@myledonline.com
TURKEY
Istanbul
90216whitesun1@myledonline.com
BELGIUM
Brussels
322whitesun1@myledonline.com
SWEDEN
Stockholm
468whitesun1@myledonline.com
HUNGARY
Budapest
361whitesun1@myledonline.com
SCOTLAND
Glasgow
44141whitesun1@myledonline.com
ICELAND
Reykjavik
354whitesun1@myledonline.com


No comments:
Post a Comment